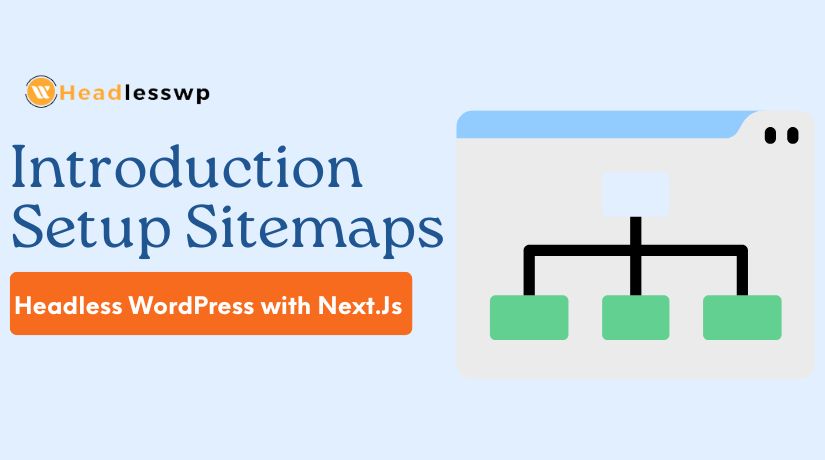
Introduction to Sitemaps in Headless WordPress
A headless WordPress setup separates the backend from the frontend. It allows you to use WordPress for content management and a different technology, like Next.js, for the website’s display. This approach boosts performance and flexibility.
Sitemaps are essential to this configuration. A file called a sitemap contains a list of all the URLs on your website. It helps search engines understand your site’s structure. This boosts your website’s SEO by ensuring all pages are discoverable. In a headless WordPress environment, sitemaps become even more important. They guide search engines to your content, even when it’s not traditionally linked.
Setting Up Headless WordPress for Sitemaps
To create a sitemap with headless WordPress, you’ll first need to set up your WordPress site. This involves making sure WordPress acts as a content-only source. The website’s display will be handled by Next.js.
Installing the WP Sitemap Rest API plugin is the first step. This plugin is key to generating sitemaps in headless WordPress. It creates endpoints It makes your site’s structure easier for search engines to interpret. that allow Next.js to fetch sitemap data. The main endpoints include:
- /wp-json/sitemap/v1/totalpages: Retrieves the total number of pages.
- /wp-json/sitemap/v1/author: Lists posts by specific authors.
- /wp-json/sitemap/v1/taxonomy: Displays categories and tags.
- /wp-json/sitemap/v1/posts: Shows all posts and pages.
These endpoints provide structured data that is easy to fetch. This data helps create a dynamic sitemap that updates automatically.
Configuring these settings ensures that Next.js can pull the correct URLs from WordPress. This setup is critical for creating a functional and efficient sitemap. Once this is finished, you may use this data by integrating Next.js.
Integration of Next.js with WordPress for Sitemaps
One useful tool in a headless WordPress system is Next.js. It handles the website’s front end, while WordPress manages the content. To make this integration seamless, you need to set up a few things.
First, install the required dependencies for Next.js. Axios is the most crucial one for this configuration. A JavaScript package called Axios is used to send HTTP requests. It allows Next.js to fetch data from WordPress easily. Use this command to install it: npm i axios. This will help Next.js communicate with the WordPress API.
Setting up environment variables in your Next.js project is the next step. These variables store your WordPress API URL and other crucial settings. In the root directory of your project, create a file called .env.local. Add the following variables:
- NEXT_PUBLIC_WORDPRESS_API_URL: Your WordPress site’s URL.
- NEXT_PUBLIC_FRONTEND_URL: The URL of your Next.js app.
- NEXT_PUBLIC_ITEM_PER_SITEMAP: Number of items per sitemap.
These variables help Next.js know where to get data and how to organize it. A seamless data transfer between WordPress and Next.js is ensured by this configuration.
Creating a Sitemap in Next.js
Now, let’s create a sitemap in Next.js. This process involves fetching data from WordPress and turning it into a sitemap. The first step is to create utility functions to handle data fetching.
Create a folder named lib in your Next.js project. Inside this folder, add a file called getTotalCounts.js. This file will fetch the total number of pages from WordPress. Use Axios to request data from the endpoint /wp-json/sitemap/v1/totalpages. This data helps Next.js understand how many pages it needs to list.
Next, you need a function to create individual sitemap pages. Make a file called getSitemapPages.js in the utils folder. This file generates sitemap entries for each page. It formats the URLs properly for search engines using XML tags. The function makes sure that all your WordPress and Next.js pages appear in the sitemap.
Lastly, create a sitemap index file to tie everything together. This file is essential since it contains an index of every sitemap page. In your Next.js project, create this file in the pages directory. Name it sitemap.xml.js. It will dynamically generate a sitemap index for search engines to crawl.
The sitemap index uses server-side rendering to stay updated. This approach ensures that search engines always have the latest sitemap version. The sitemap automatically refreshes as you add or remove content. This real-time update improves the visibility of your new pages.
Advanced Sitemap Management
Building Sitemap Pages and Indexing with Next.js
Building a sitemap page in Next.js is essential for effective indexing. It facilitates fast page discovery for search engines. To start, you’ll create a dynamic sitemap index page using server-side rendering.
It is guaranteed that your sitemap is constantly current thanks to server-side rendering. Search engines view the most recent URLs when they crawl your website. In Next.js, add a file named sitemap.xml.js in the pages directory. This file generates the sitemap using the data fetched from WordPress.
The key to this process is fetching data with utility functions. The sitemap index page uses the functions you created earlier to grab all WordPress and Next.js URLs. It then formats these URLs into XML for search engines. This format helps search engines understand your site’s structure better.
Optimizing your sitemap’s XML structure is crucial for SEO. Make sure to include essential tags like <loc>, <lastmod>, and <changefreq>. These tags inform search engines about the URL’s importance and update frequency.
Dynamic Sitemap Page Routes and Handling Slugs
Dynamic routing in Next.js is a powerful feature for sitemaps. It allows your sitemap to handle pages that are not static. This is vital for sites with frequently changing content, like blogs or e-commerce platforms.
To create dynamic routes, use the bracket syntax in Next.js. For example, in the pages/sitemap folder, create a file named [slug].js. This file will handle different sitemap entries based on their slugs.
The [slug].js file fetches data specific to each page type. It then generates a sitemap section for each entry, like posts, tags, or categories. This approach ensures that every type of content on your site gets indexed.
Error handling is also important for dynamic routes. Ensure your sitemap only includes valid URLs. If a URL or slug is incorrect, your code should return a 404 error. This helps search engines avoid crawling broken or irrelevant links.
Dynamic sitemap pages make your Next.js and WordPress integration more flexible. They let your sitemap adapt to changes without manual updates. This way, new content on your WordPress site appears in the sitemap instantly.
Combining WordPress and Next.js Sitemaps
Combining sitemaps from WordPress and Next.js creates a unified structure. It facilitates more effective site crawling by search engines. To merge these sitemaps, update your sitemap index file in Next.js.
Include both WordPress and Next.js URLs in the index. This ensures that your sitemap covers all dynamic and static pages. For example, in your sitemap index file, add entries from both platforms. This integration guarantees that search engines find every page on your site.
Managing priority and frequency updates is also important. Use the <priority> and <changefreq> tags to guide search engines. These tags help highlight your most valuable pages. Regularly updated content can have a higher crawl frequency.
Testing and Deploying Your Sitemap
Before deploying, thoroughly test your sitemap setup locally. Use npm run dev to launch your Next.js application in an open terminal. Check that your sitemap displays correctly with all URLs.
In your sitemap, be sure to test both static and dynamic routes. Make sure no pages or broken links are present. Testing helps catch issues that might affect search engine indexing.
It’s time to launch after you feel secure with your configuration. Deploy your Next.js project to a hosting platform like Vercel or Netlify. Next.js is seamlessly integrated with both platforms.
Send your sitemap to Google and other search engines after it is deployed. Utilize resources like as Google Search Console for uploading and tracking your sitemap. This procedure makes sure that search engines can effectively crawl and index your website.
Conclusion
Creating a sitemap for headless WordPress with Next.js boosts SEO. It helps search engines discover your site’s content quickly and accurately. The integration of both platforms creates a unified, dynamic sitemap.
Proper testing and deployment are essential to maintain a smooth workflow. Regular updates to your sitemap ensure search engines always have the latest data. Your website stays visible and competitive in search engine rankings with this configuration.
Embrace these techniques to maximize your site’s reach and SEO impact. This approach will make your WordPress and Next.js integration more effective.